Best Practices for Sharpening Your Grooming Shears
Maybe you’ve been there.
It’s been a busy day, your pooch has been washed, dried, and you’re moving in for the most epic cut. A few snips, and, literally nothing happens.
Dull grooming shears are a total drag.
We all know that keeping your shears nice and sharp is an important part of having a good grooming experience. Both for you and your client.
But what’s the best way to go about caring for and sharpening your shears?
Should you DIY-it? Should you shell out some cash to have it done professionally? Should you just cut it out and buy another pair?
Take a few breaths, we got you.
Let’s have a look at the ins and outs of some of the best practices for sharpening shears.
You Gotta Know When to Sharpen
Good shears are a groomer’s best friend. Whether you are a novice or a professional dog groomer.
With proper care and maintenance, a good pair can last upwards of 20-years. Plan on sharpening your shears at least once a year.
Aside from once a year, here are a few signs your shears are ready for a good sharpening.
The Fur is Bending
It’s possible that the tension is too loose. If you’ve made adjustments already and the fur is still bending, your shears are likely dull.
There Is Pinching or Pulling
Your furry client will likely make you aware that this is happening. From your perspective, if fur seems like it’s pinched you may have nicked your shears. Possibly from dropping them or some other sort of impact.
Time to sharpen.
There’s a Crunch
If you actually hear a crunching sound when you’re snipping, or the shears get caught up when you close them, this is another sign you’ve nicked your shears.
You guessed it, time to sharpen.
Improperly Sharpened – Dull Quickly
Shears that had an edge when new should stay sharp for a long time after sharpening.
If you had them sharpened, or went the DIY route, and find your shears seem dull after a few services. It’s likely they weren’t sharpened properly.
Your Hands Hurt
If you find your hands are tired or hurt after a few cuts, it could be because your shears are dull.
Inconsistent Results
If your cuts are not coming out how they normally do. Or you are getting wildly inconsistent results, it could be time for a sharpening.
Think of it this way, the more frequently you use your grooming shears, the more frequently you’ll need to sharpen them.
Sharpening Your Shears DIY Version
There are a lot of hacks out there on ways for dog groomers to sharpen their shears on a dime. Most of those hacks, you, and your shears, really want no part of.
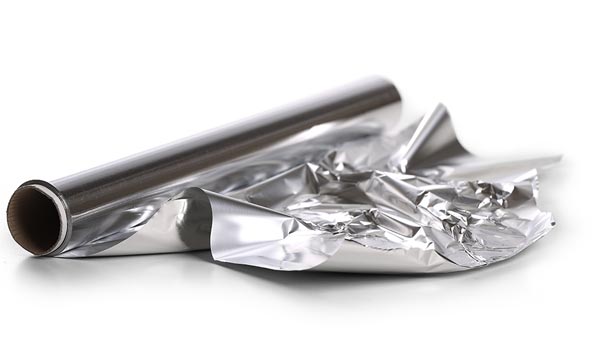
Don’t Use Aluminum Foil
Some places online suggest folding some foil and cutting through it a few times.
Do not do this.
Your shears will become rounded and will require more work to sharpen.
Don’t Use Sandpaper
Sandpaper is good for many things, sharpening grooming shears is not one of them.
Your shears may not recover if you choose to go this route. We recommend you do not.
Home-Sharpening Equipment
Good shears often require multiple steps, with different kinds of abrasives and polishing techniques. Most home-sharpening kits aren’t worth it and will end up damaging your tools.
There is one device we’ve seen that does seem to stand up to the needs of professional grooming shears.
Shear Saver is a small piece of equipment that requires minimal investment and may save you time and money in the long term.
You can sharpen grooming shears up to 10-inches, however, it does seem like the device only works with straight shears.
Bottom line, DIY Is Risky
At the end of the day, most of the DIY hacks for sharpening shears are OK for run-of-the-mill scissors, but grooming shears are made from various metals and you will likely do more damage than good if you go the DIY route.
Moral of the story, invest in your shears and they will give you the best years of their lives.
Bring in the Pros
So we’ve pretty much covered why most DIY hacks aren’t the best for your grooming shears.
What can you do then?
Invest in Equipment and Training
This is not the cheapest option but it does put you at a potential advantage.
You will never have to worry about sharpening your shears again. You’ll be able to take care of it in house, ensuring quality control, and adding value to your professional grooming business.
You can even add sharpening shears as a service you provide to clients who like to cut their pups mane’s themselves.
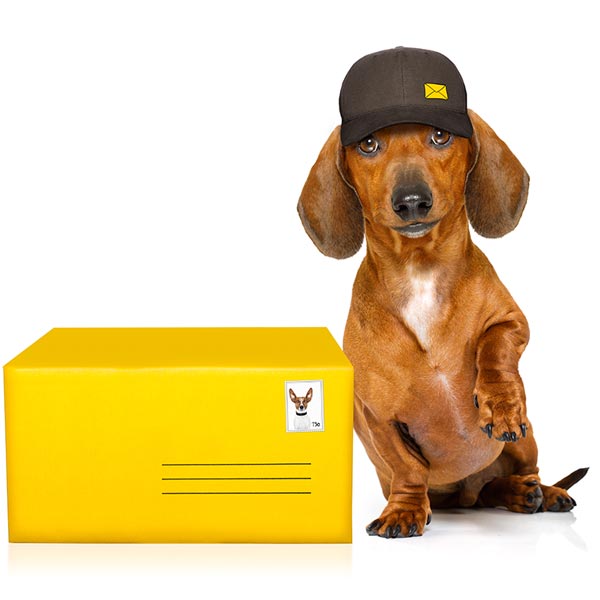
Sharpening Shears by Mail
There are a few companies that have done the work of investing in professional sharpening equipment so you don’t have to.
All you do is select your favorite, safely package your shears, and ship them off.
Shear Precision has been around since 2008. Short, long, curved, straight, serrated, corrugated, and pinking they can, and do, sharpen it all.
Precision Sharpening is another industry favorite. They guarantee all of their work and are authorized to sharpen Chris Christensen and SharkFin Shears without voiding their warranties.
Frank Rowe and Son Inc. has 40-years of shear sharpening experience. Ship them your blades for inspection and they’ll get back to you with your best maintenance options. Most orders can be completed in 1-3 business days.
In Between Sharpening Shears
Taking good care of your grooming shears is the number one way to ensure they last.
In between professional sharpening sessions:
- Make sure to keep the tension adjusted adequately
- Try your best not to drop them
- Always clean the hair off your gear
- Keep them clean and well oiled
When it’s time to sharpen them, don’t put it off.
Cutting with dull shears not only hurts you physically, it hurts your shears, potentially hurts your clients, and will leave you with sub-par cuts.
Hungry For More?
We hope you feel well equipped to approach sharpening shears whichever method you may prefer.
If you liked this article and want access to even more fresh, pet grooming content delivered right to your inbox, we’d love for you to subscribe to our blog!
